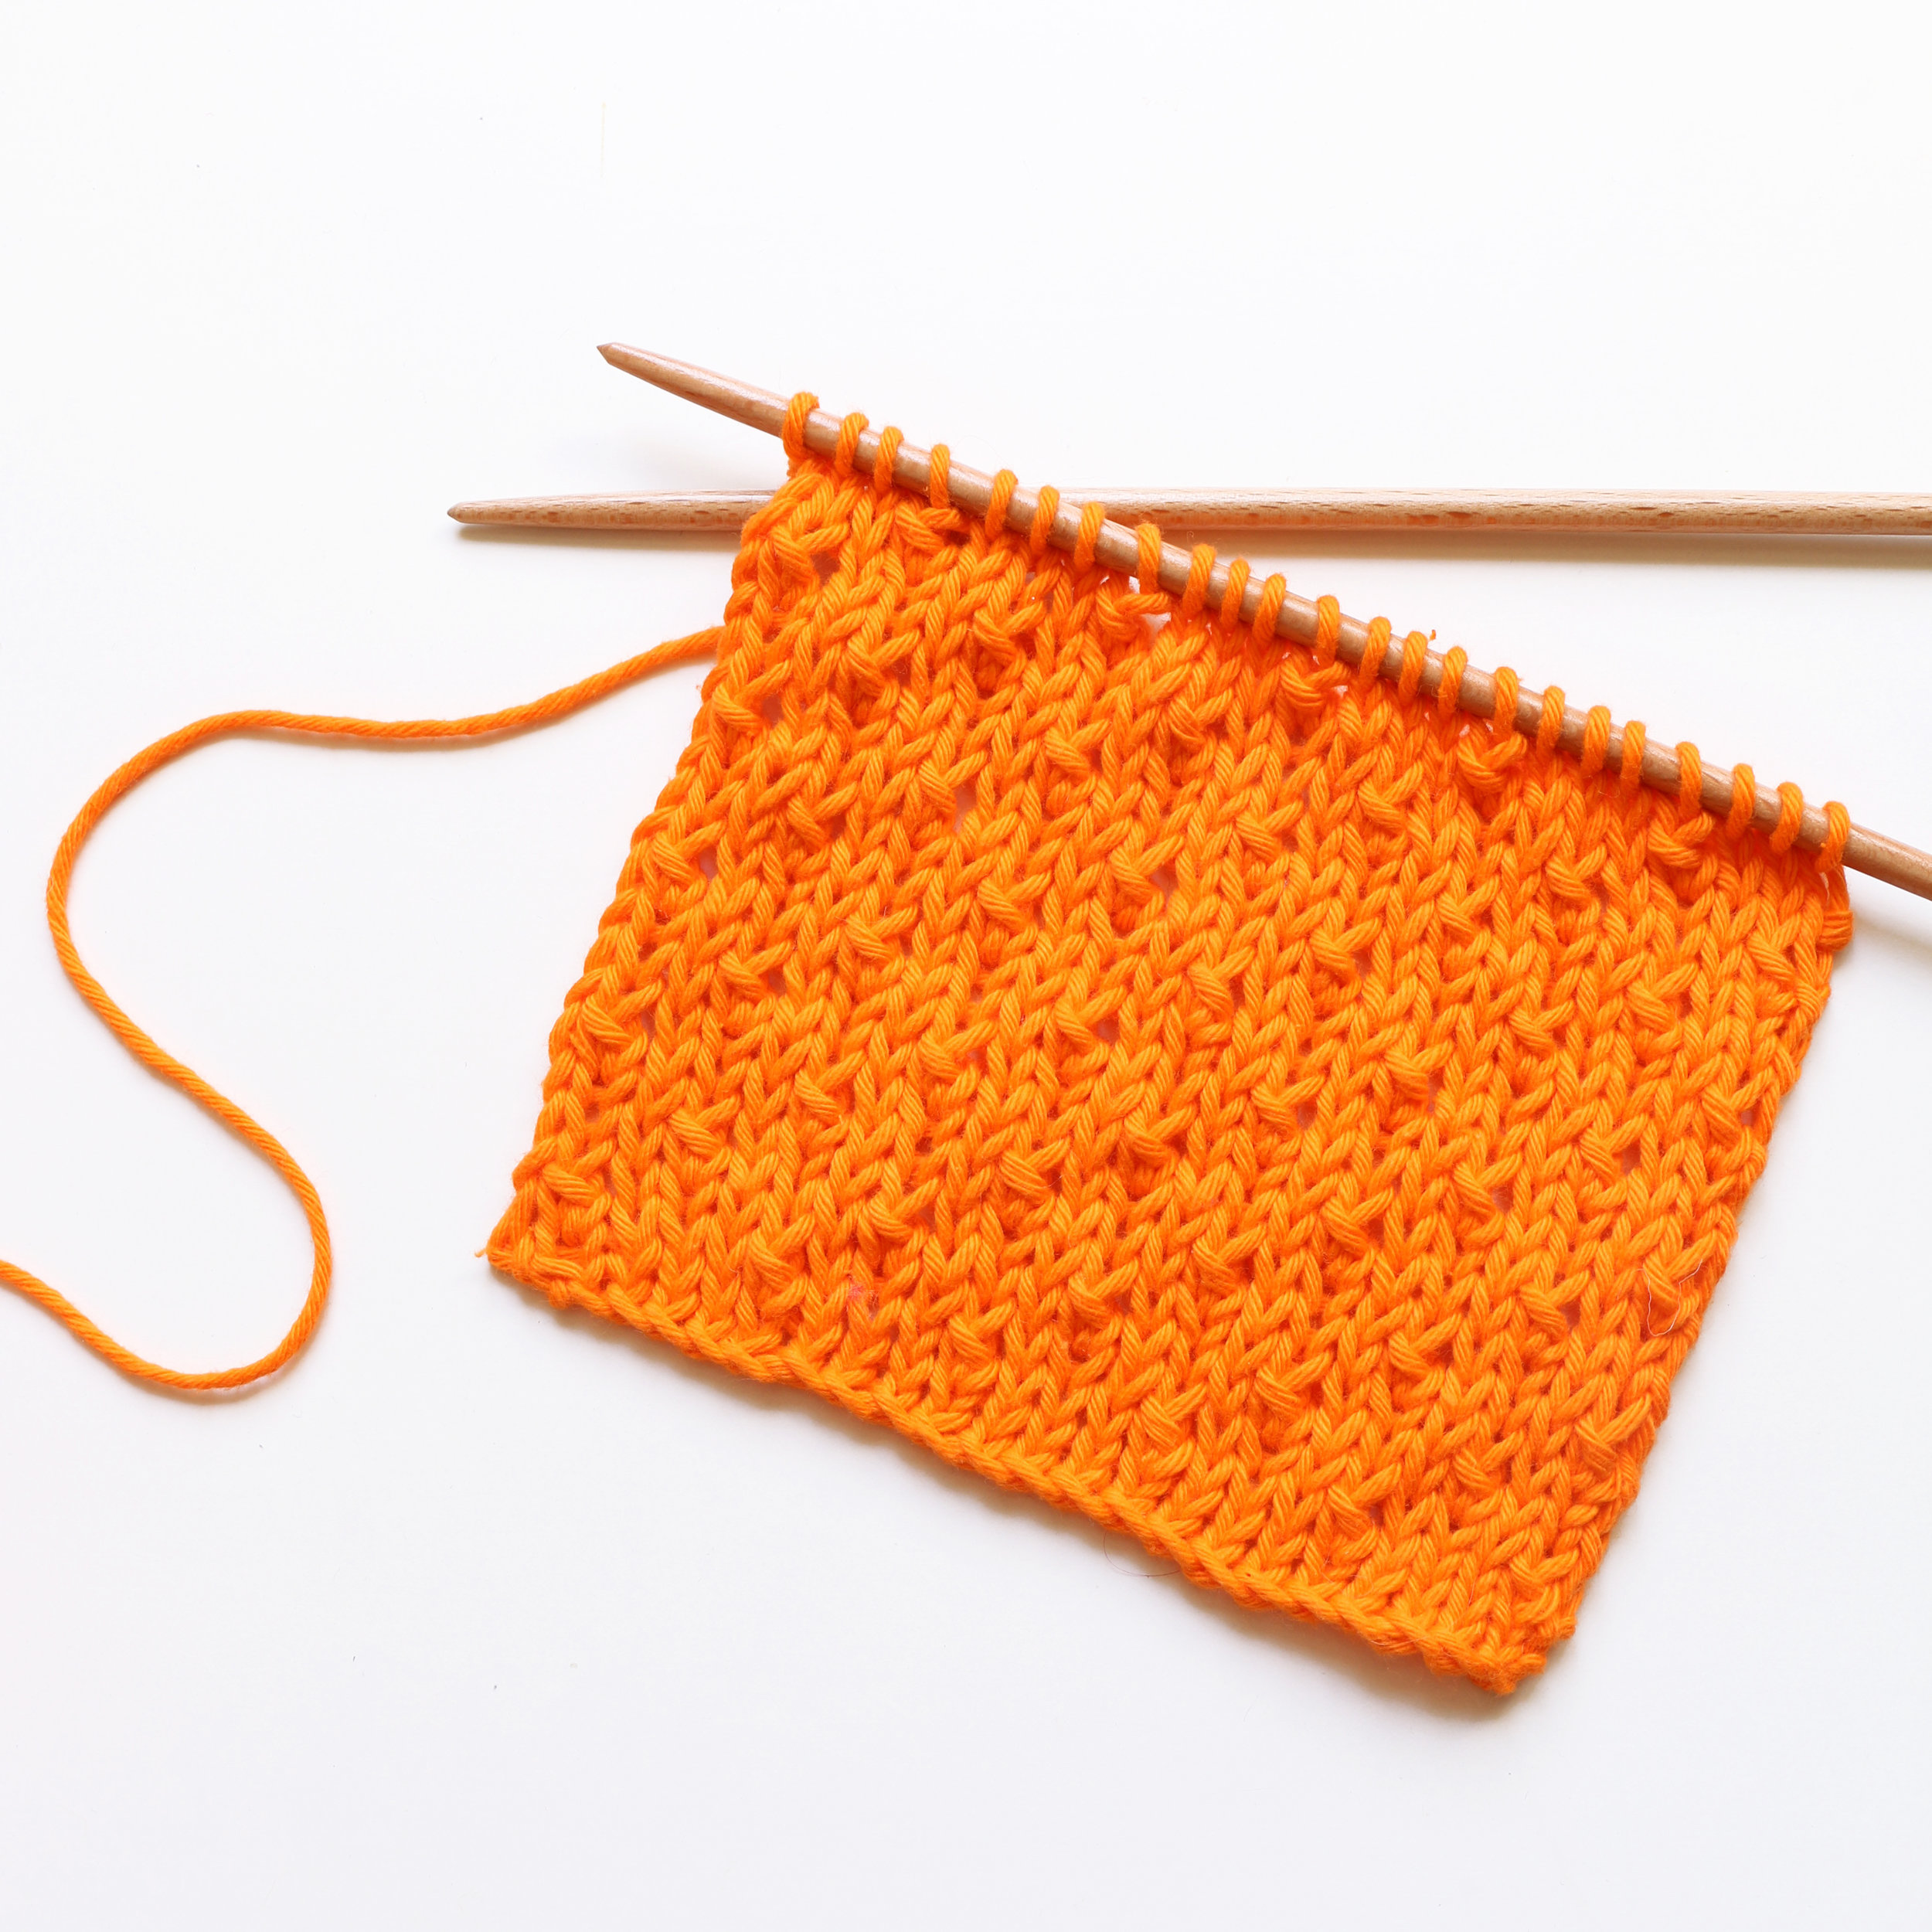
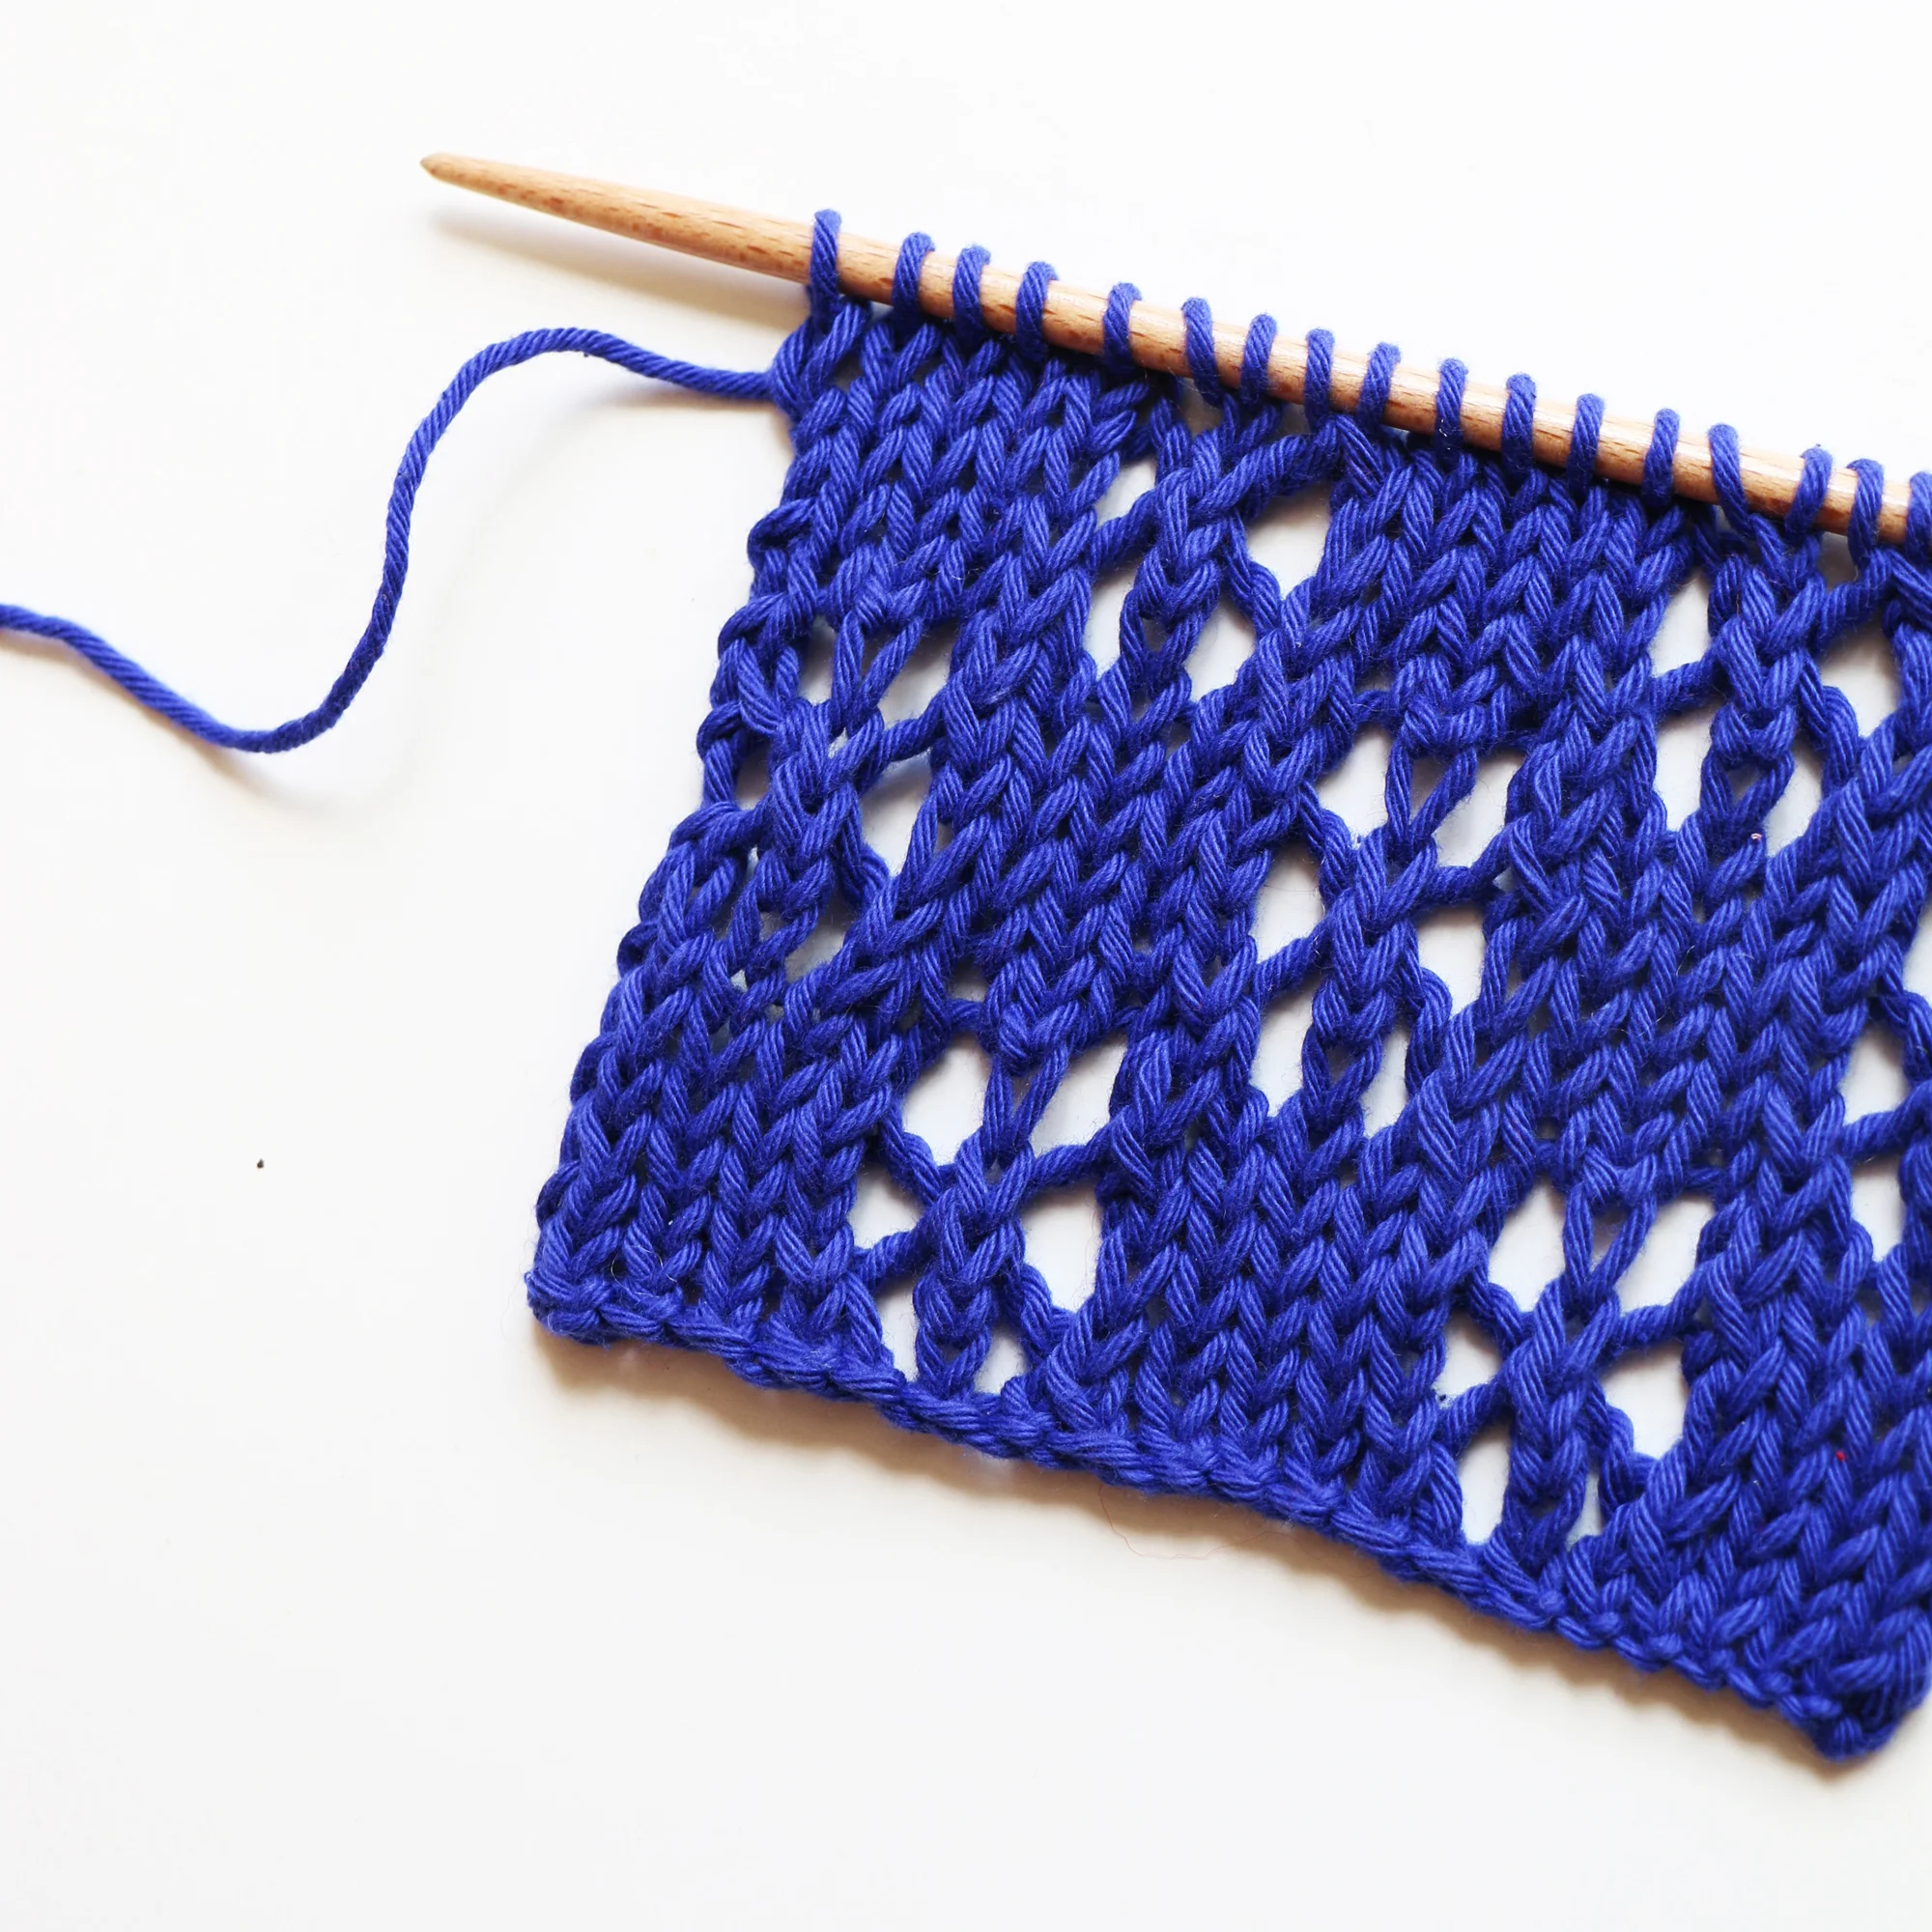
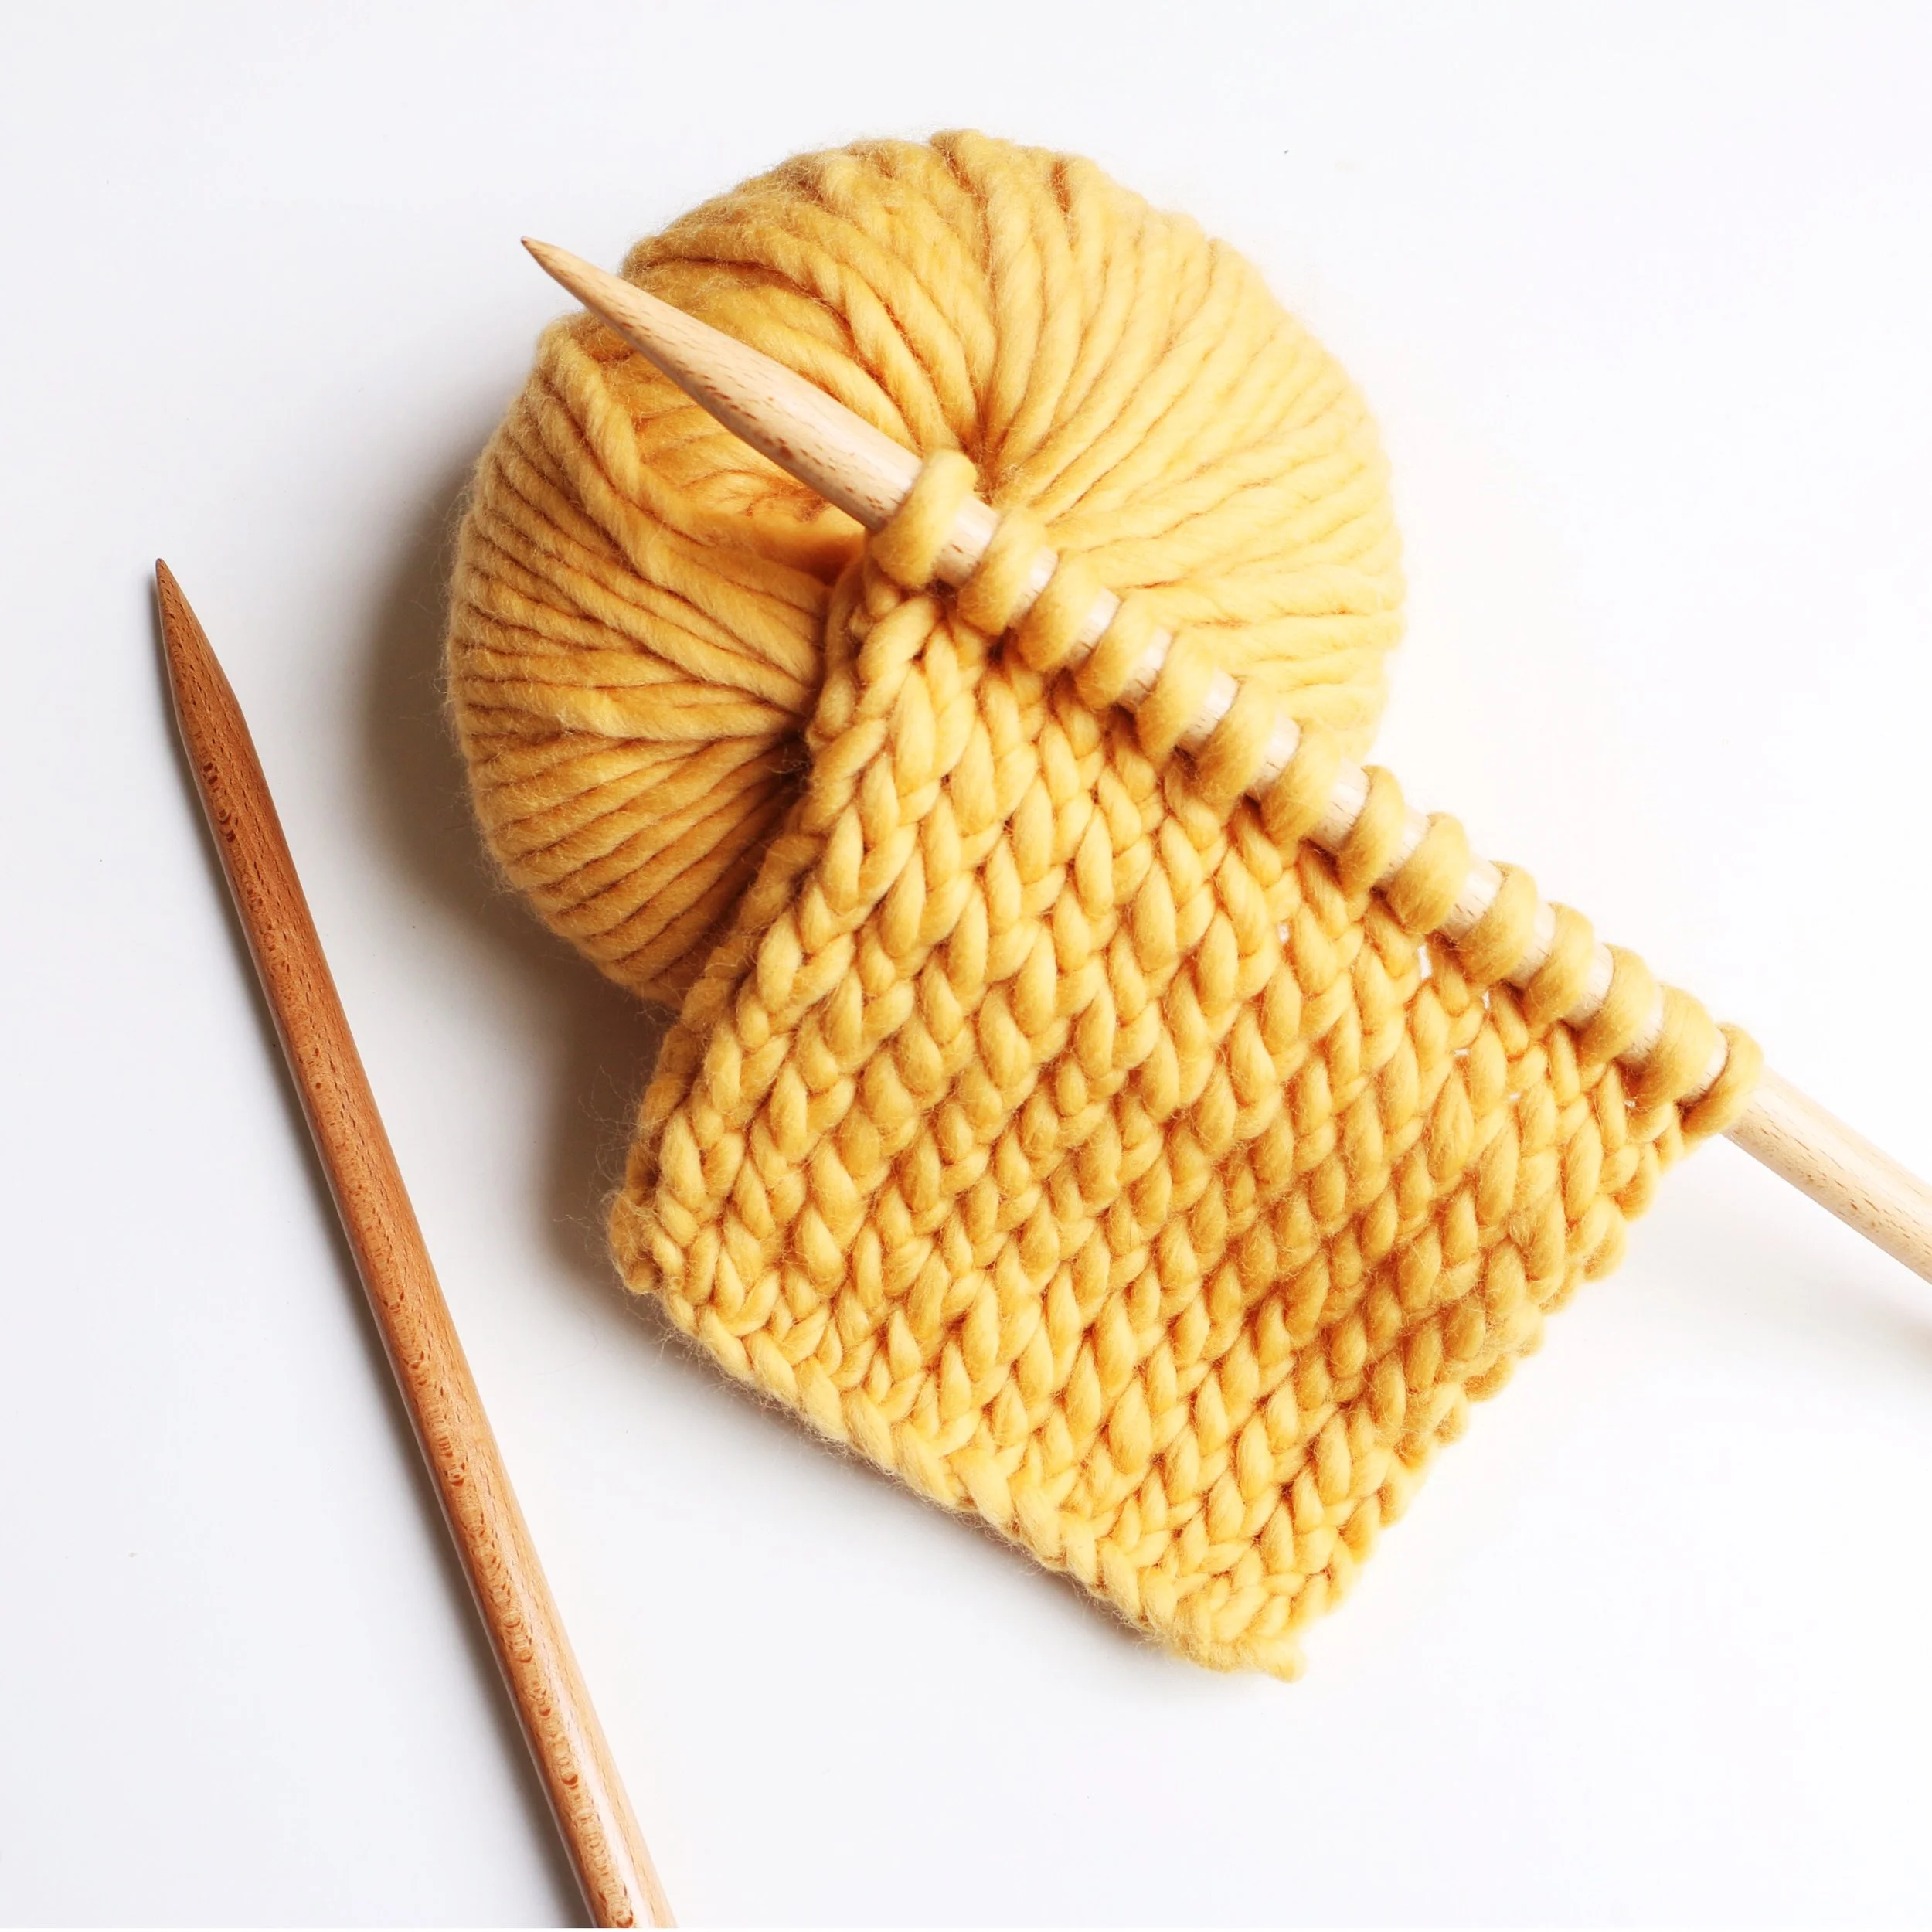
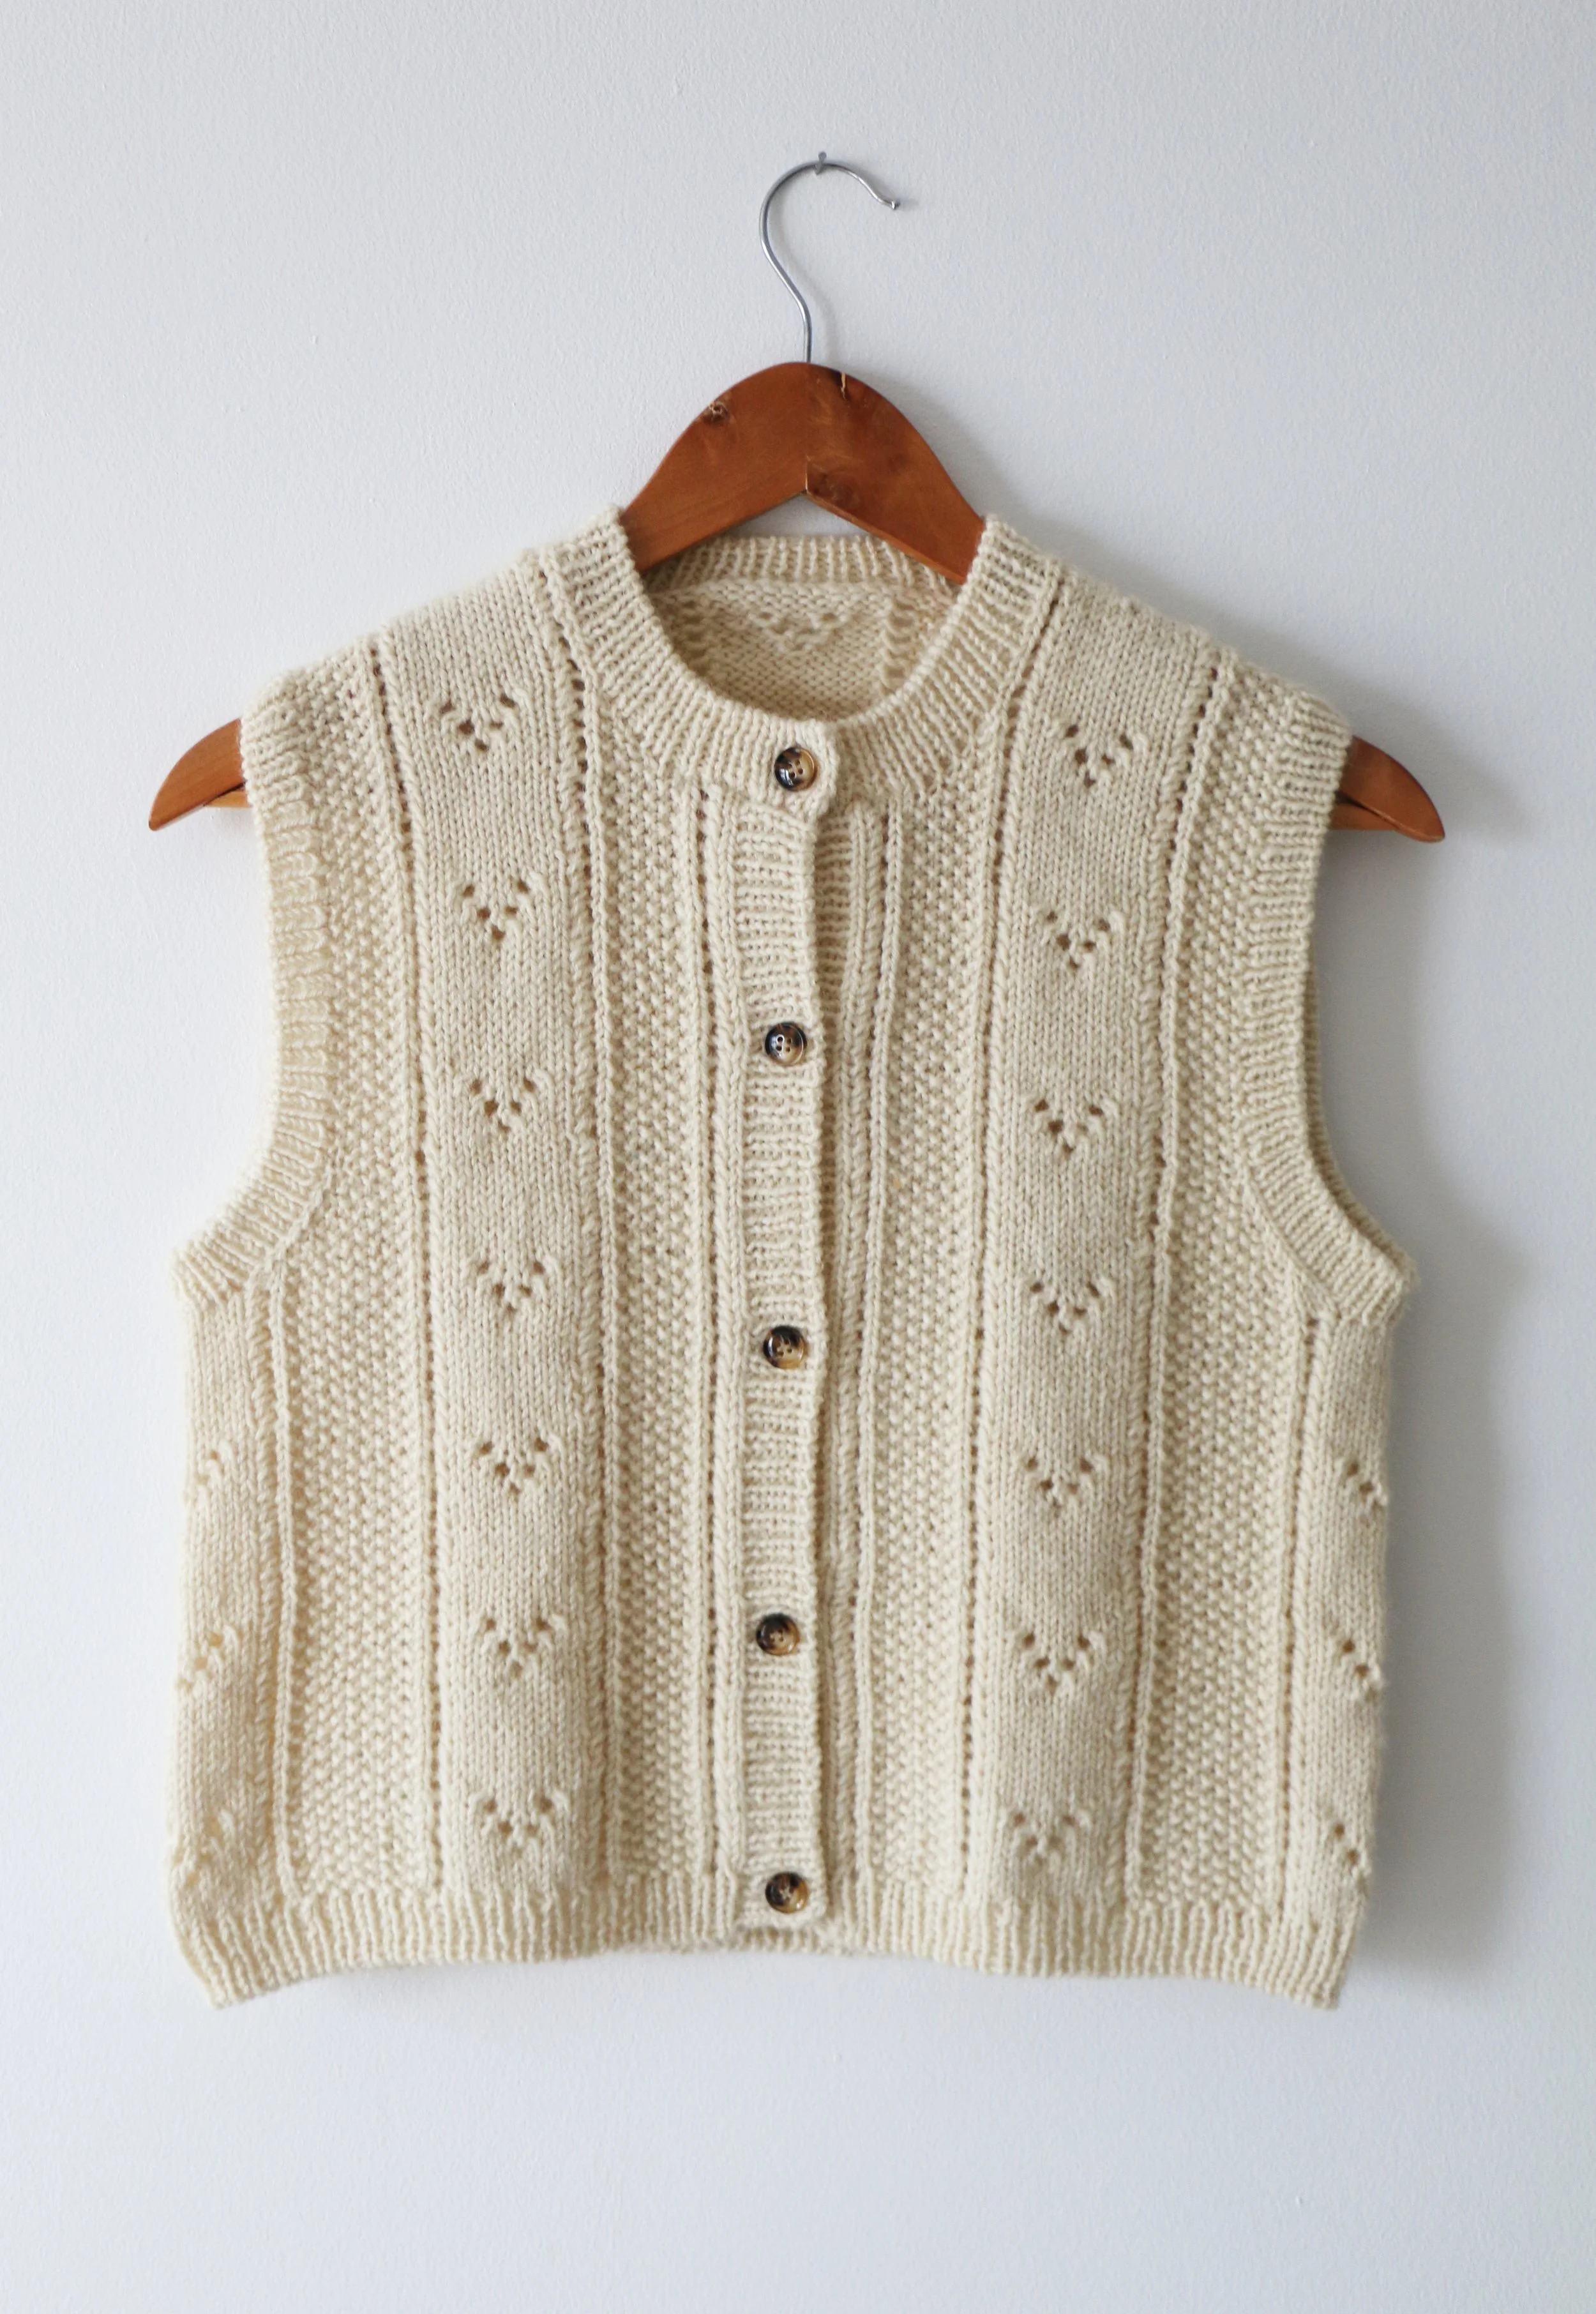
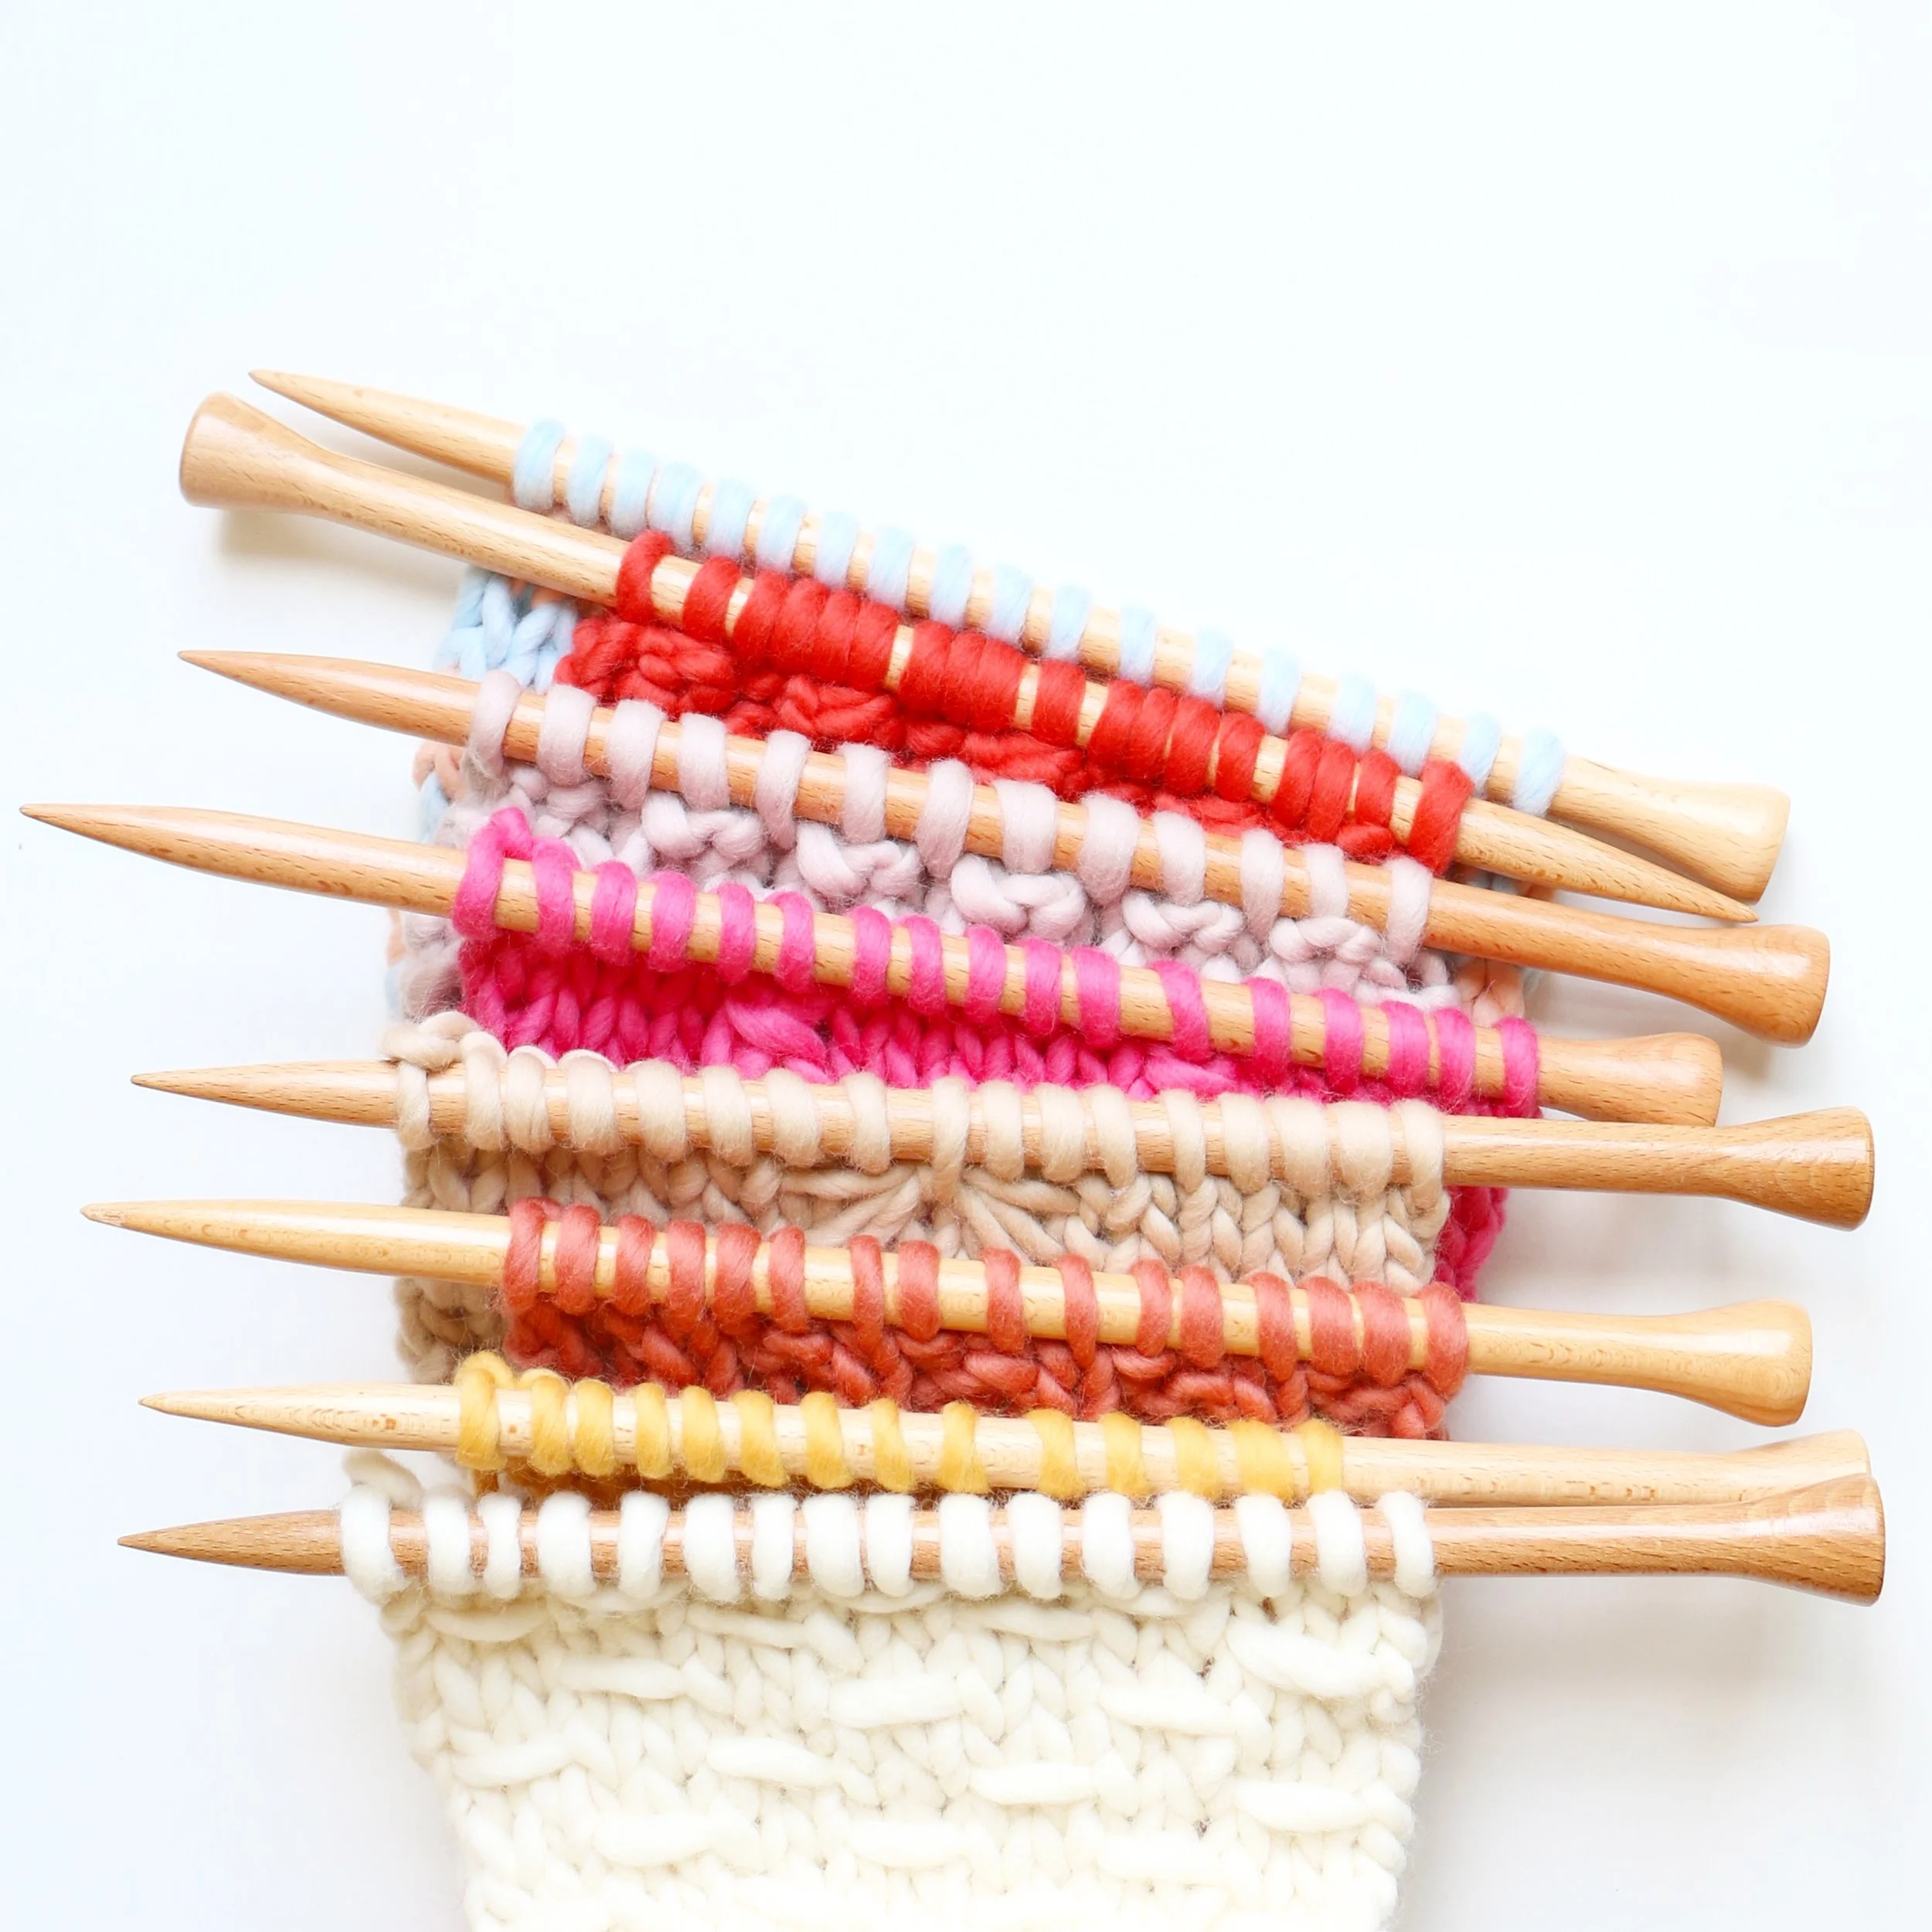
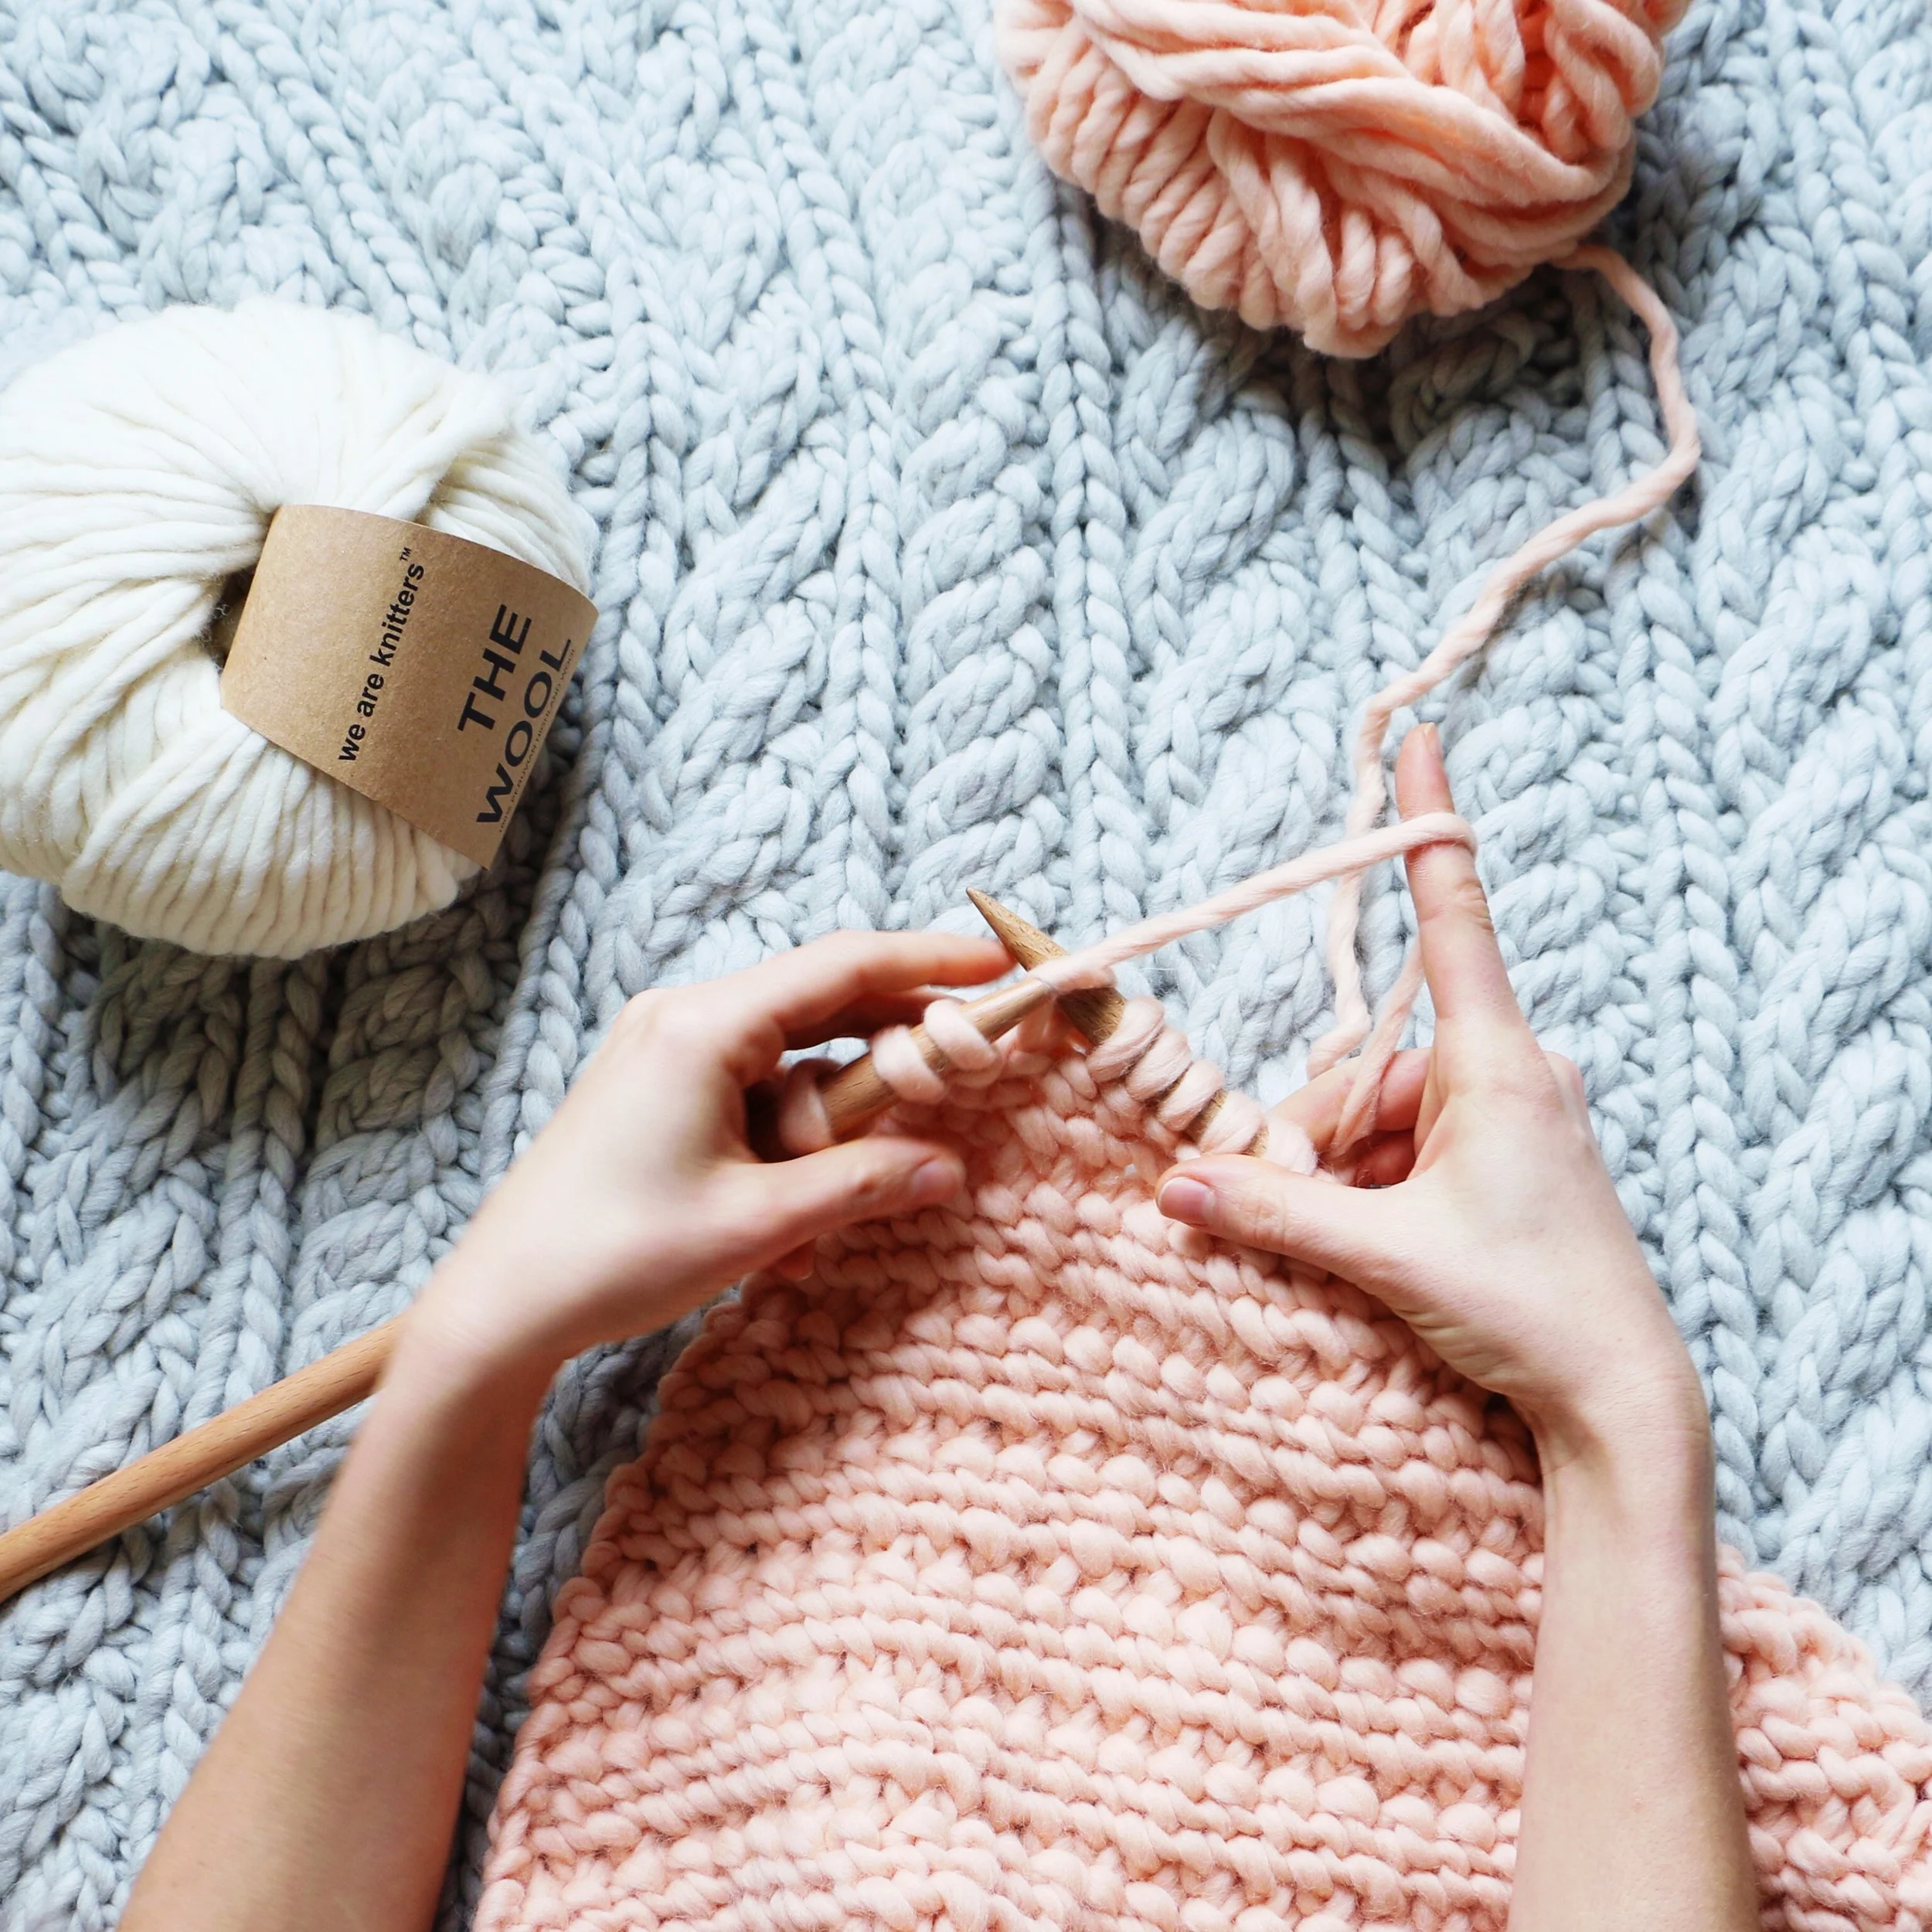
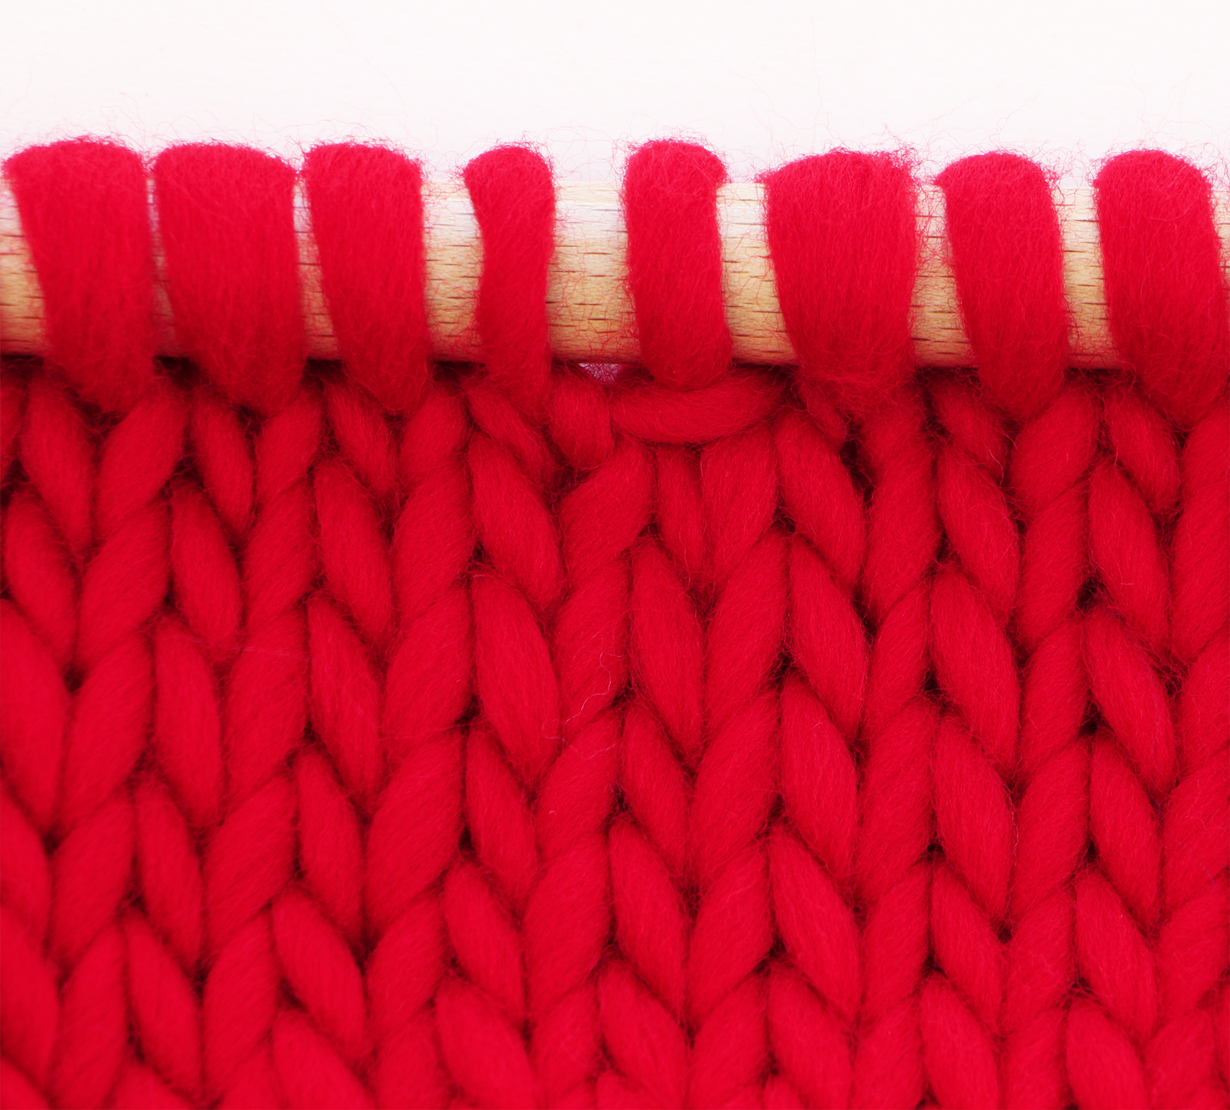
La maille glissée
Une maille glissée est une maille que l'on passe de l'aiguille gauche à l'aiguille droite sans la tricoter. Elle peut être glissée à l'envers ou à l'endroit, avec le fil placé derrière ou devant l'ouvrage.
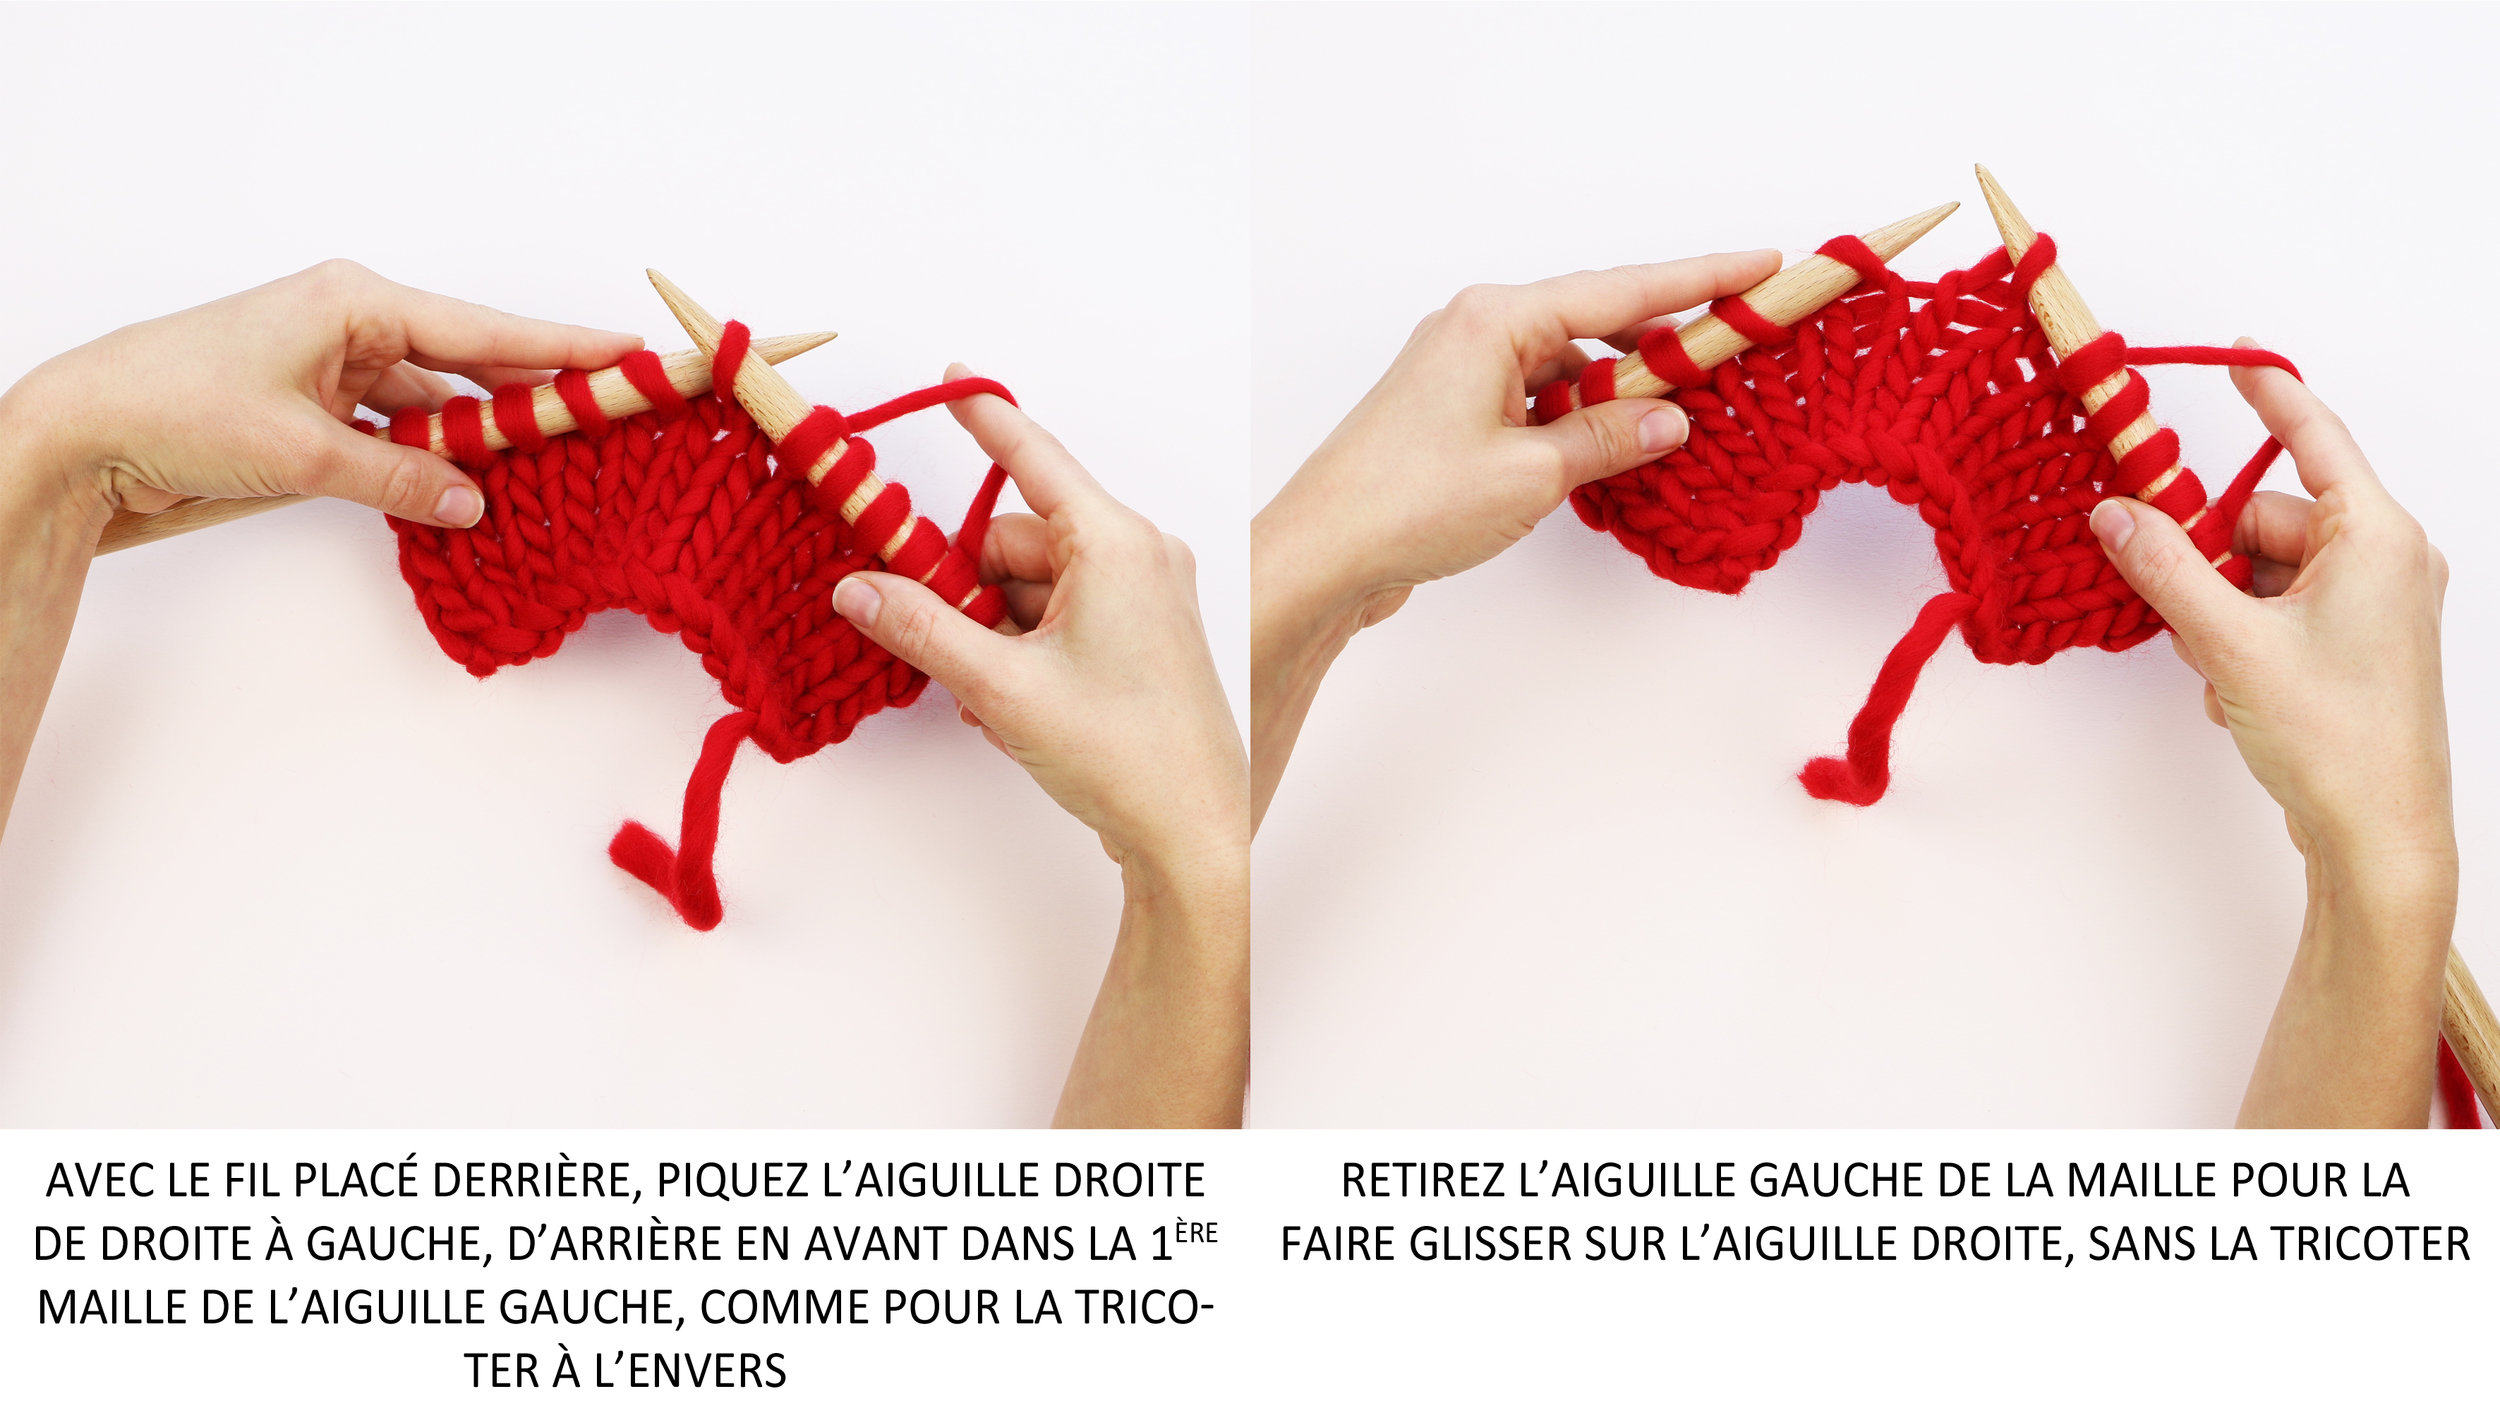
Glisser une maille à l'envers avec le fil derrière les mailles
- Placez le fil derrière les mailles. Si la maille précédente est une maille endroit, le fil est déjà derrière. Si la maille précédente est une maille envers, on passe le fil derrière.
- Piquez l'aiguille droite de droite à gauche dans la première maille de l'aiguille gauche, comme pour la tricoter à l'envers et faites glisser la maille de l'aiguille gauche, sans la tricoter.
- Tricotez la maille suivante comme indiqué sur le patron, sans trop serrer le fil. Si la maille suivante est une maille endroit, on laisse le fil derrière les mailles. Si la maille suivante est une maille envers, on repasse le fil devant les mailles.
Glisser une maille à l'envers avec le fil devant les mailles
- Passez le fil devant les mailles. Si la maille précédente est une maille endroit, on passe le fil devant. Si la maille précédente est une maille envers, le fil est déjà devant.
- Piquez l'aiguille droite de droite à gauche dans la première maille de l'aiguille gauche, comme pour la tricoter à l'envers et faites glisser la maille de l'aiguille gauche, sans la tricoter.
- Tricotez la maille suivante comme indiqué sur le patron, sans trop serrer le fil. Si la maille suivante est une maille endroit, on repasse le fil derrière. Si la maille suivante est à l'envers, on laisse le fil devant.

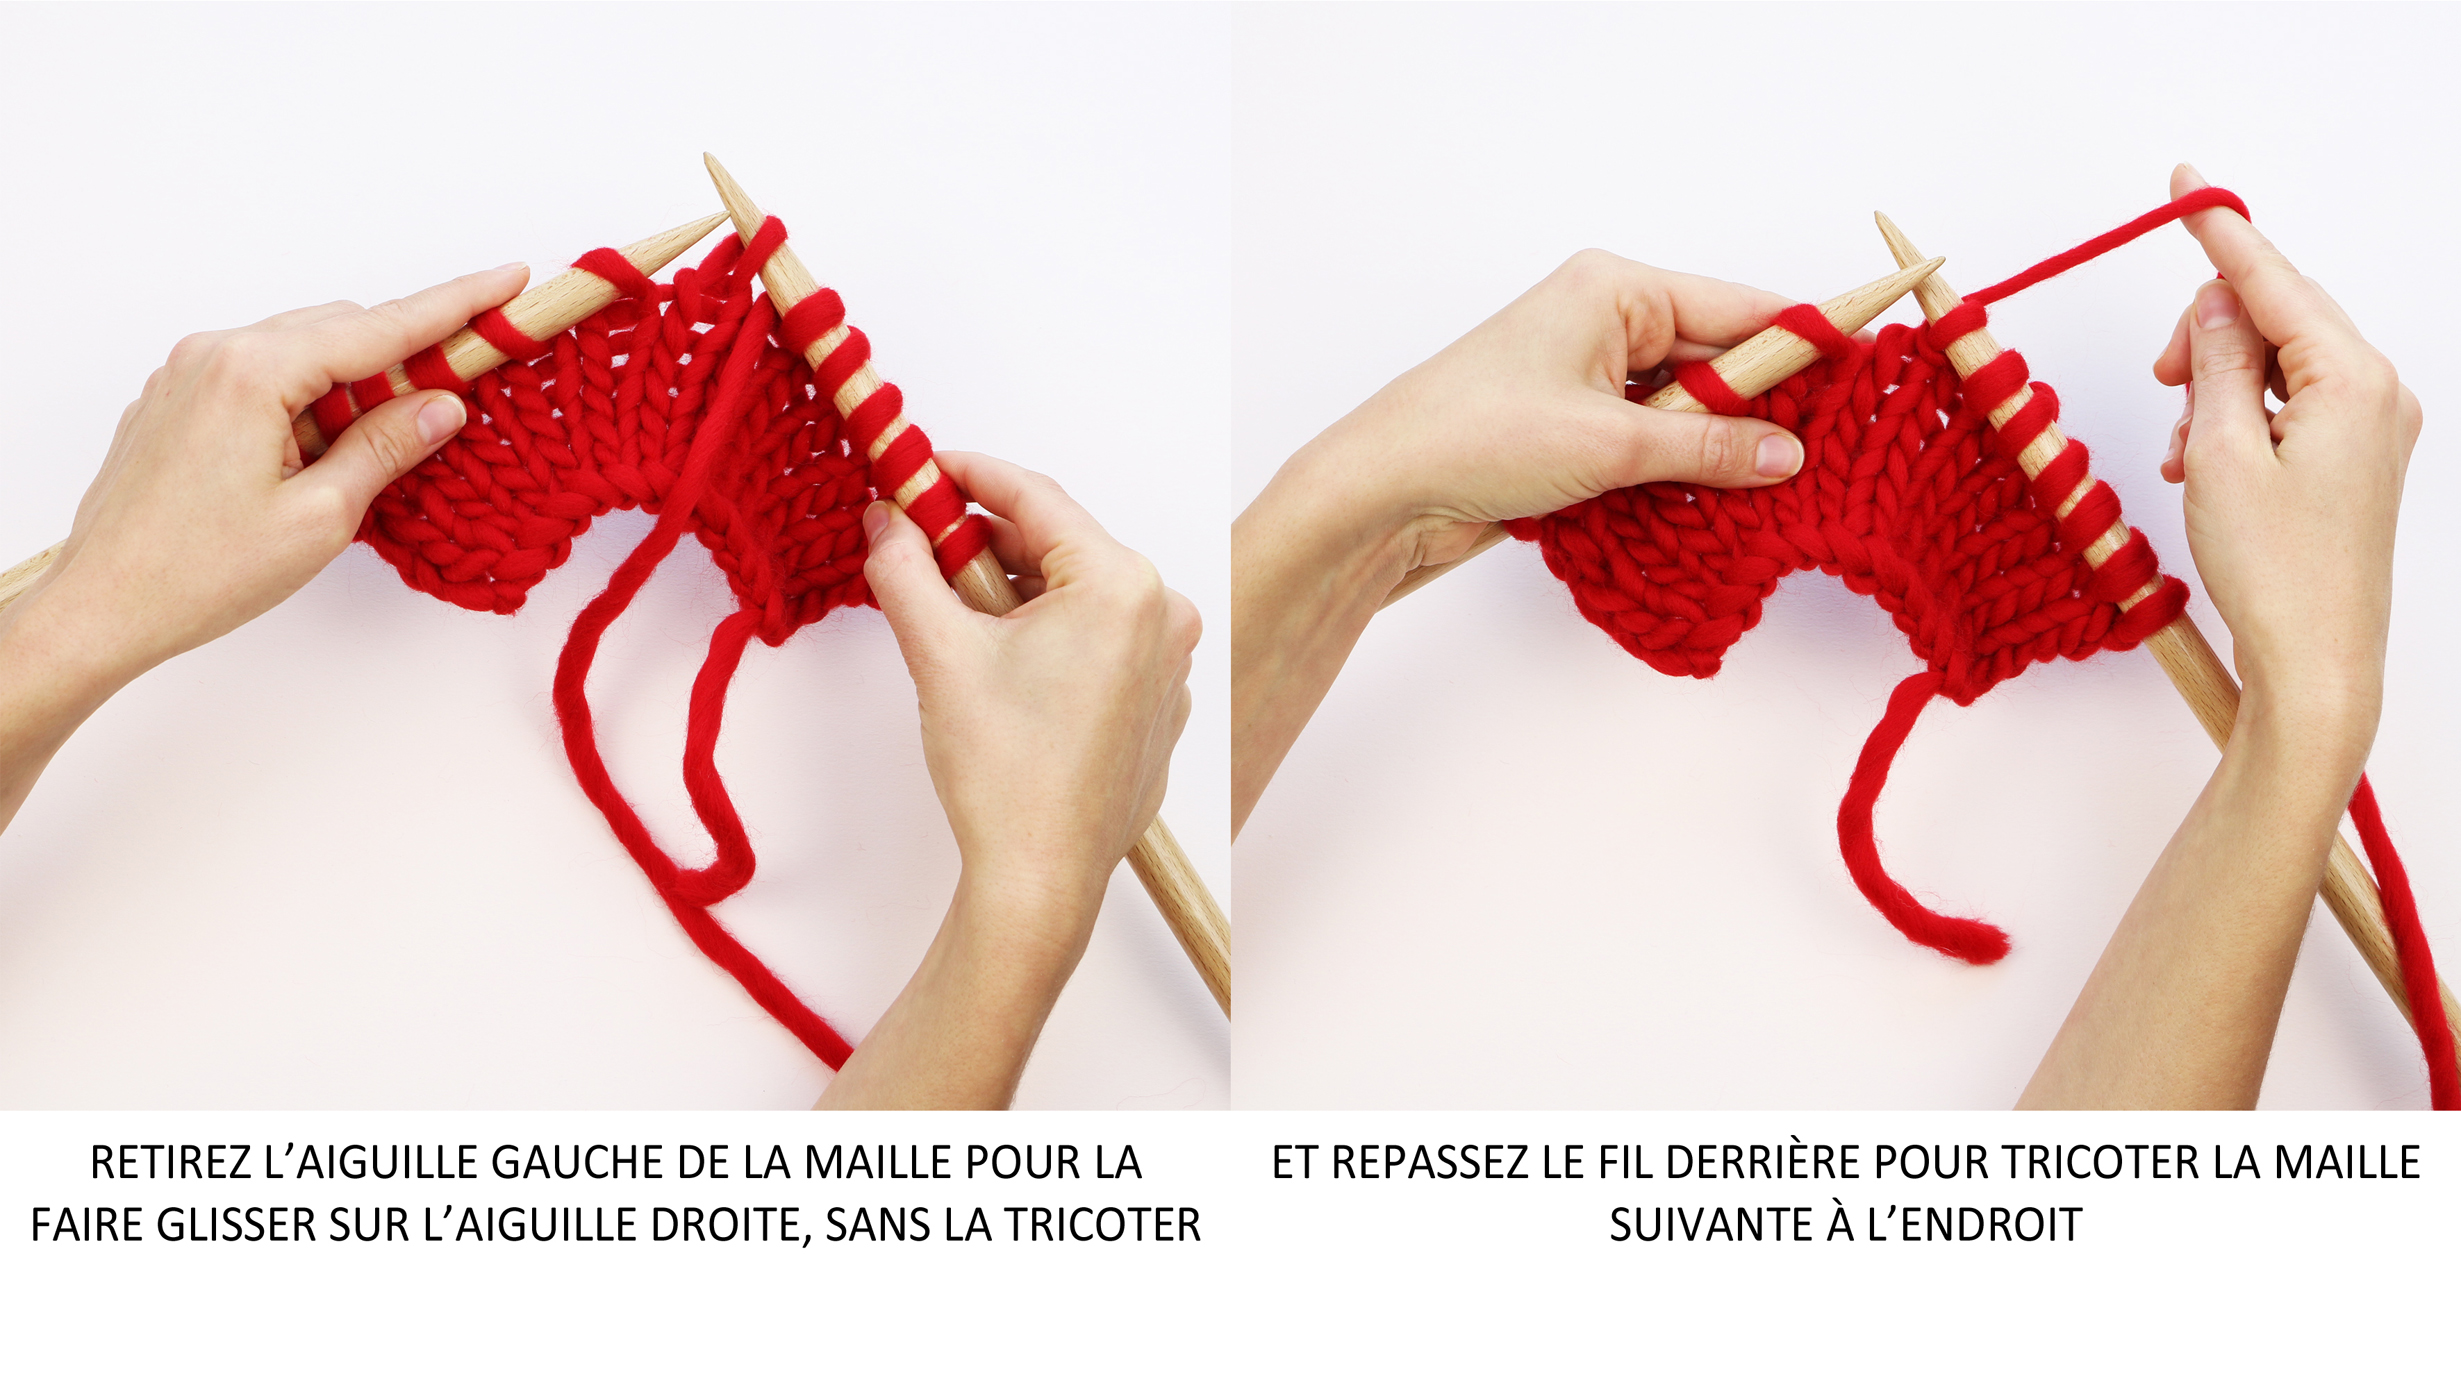
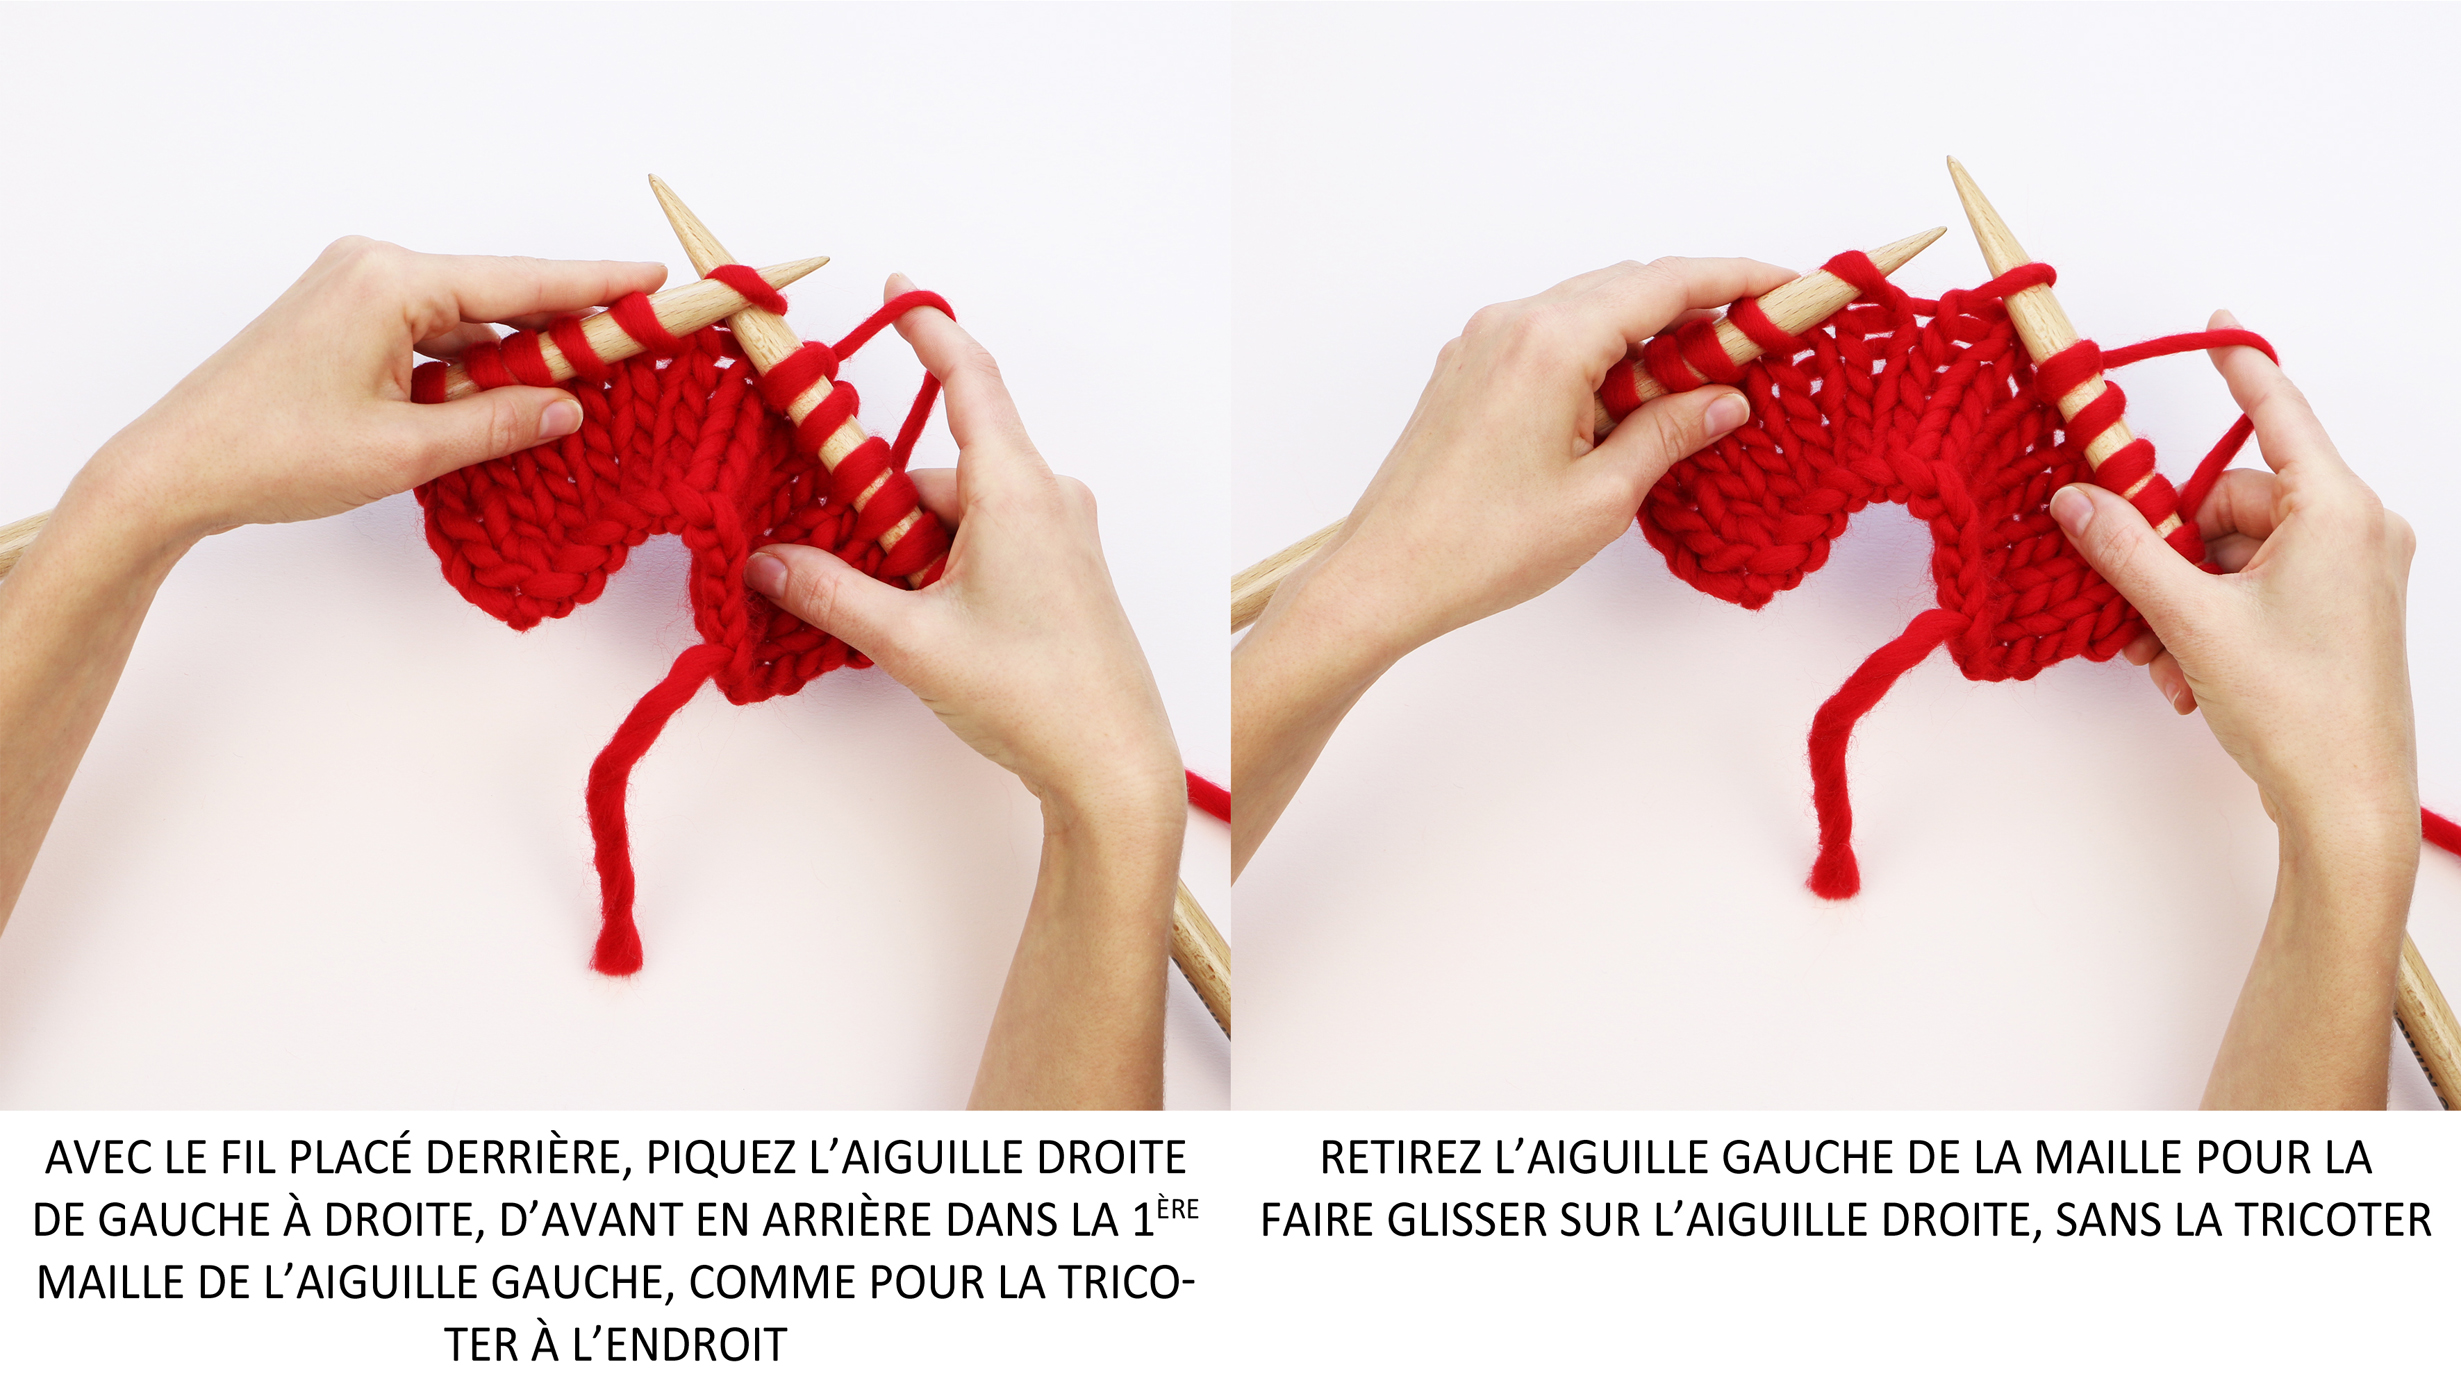
Glisser une maille à l'endroit avec le fil derrière les mailles
- Placez le fil derrière les mailles. Si la maille précédente est une maille endroit, le fil est déjà derrière. Si la maille précédente est une maille envers, on passe le fil derrière.
- Piquez l'aiguille droite de gauche à droite dans la première maille de l'aiguille gauche, comme pour la tricoter à l'endroit et faites glisser la maille de l'aiguille gauche, sans la tricoter.
- Tricotez la maille suivante comme indiqué sur le patron, sans trop serrer le fil. Si la maille suivante est une maille endroit, on laisse le fil derrière les mailles. Si la maille suivante est une maille envers, on repasse le fil devant les mailles.
Glisser une maille à l'endroit avec le fil devant les mailles
- Passez le fil devant les mailles. Si la maille précédente est une maille endroit, on passe le fil devant. Si la maille précédente est une maille envers, le fil est déjà devant.
- Piquez l'aiguille droite de gauche à droite dans la première maille de l'aiguille gauche, comme pour la tricoter à l'endroit et faites glisser la maille de l'aiguille gauche, sans la tricoter.
- Tricotez la maille suivante comme indiqué sur le patron, sans trop serrer le fil. Si la maille suivante est une maille endroit, on repasse le fil derrière. Si la maille suivante est à l'envers, on laisse le fil devant.

The slip stitch
HOW TO SLIP A STITCH
A slip stitch is a stitch slipped from the left needle to the right needle without knitting it. It can be slipped knitwise or purlwise, with yarn in back or with yarn in front.
Slip stitch purlwise with yarn in back
- Bring yarn to the back of the work. If the previous stitch is a knit stitch, the yarn is already in the back. If previous stitch is a purl stitch, bring yarn to the back.
- Insert the point of the right needle from right to left in the center of the first stitch of the left needle. Slip the stitch off of the left needle without knitting it.
- Knit the next stitch as indicated on your pattern. If the next stitch is a knit stitch, leave the yarn in the back. If the next stitch is a purl stitch, bring yarn back to the front.

Slip stitch purlwise with yarn in front
- Bring yarn to the front of the work. If the previous stitch is a knit stitch, bring yarn to the front. If previous stitch is a purl stitch, the yarn is already in front.
- Insert the point of the right needle from right to left in the center of the first stitch of the left needle. Slip the stitch off of the left needle without knitting it.
- Knit the next stitch as indicated on your pattern. If the next stitch is a knit stitch, pass the yarn to the back. If the next stitch is a purl stitch, the yarn is already in front.


Slip stitch knitwise with yarn in back
- Bring yarn to the back of the work. If the previous stitch is a knit stitch, the yarn is already in the back. If previous stitch is a purl stitch, bring yarn to the back.
- Insert the point of the right needle from left to right in the center of the first stitch of the left needle. Slip the stitch off of the left needle without knitting it.
- Knit the next stitch as indicated on your pattern. If the next stitch is a knit stitch, leave the yarn in the back. If the next stitch is a purl stitch, bring yarn back to the front.

Slip stitch knitwise with yarn in front
Bring yarn to the front of the work. If the previous stitch is a knit stitch, bring yarn to the front. If previous stitch is a purl stitch, the yarn is already in front.
- Insert the point of the right needle from left to right in the center of the first stitch of the left needle. Slip the stitch off of the left needle without knitting it.
- Knit the next stitch as indicated on your pattern. If the next stitch is a knit stitch, pass the yarn to the back. If the next stitch is a purl stitch, the yarn is already in front.